


Hello There! 🌈
Today on Python Weekly, we would be creating a REST API using Django for a book E-store project. I believe you have a basic understanding of django and python.
REQUIRMENTS:
~ Python Installed on your local machine.
~ Basic understanding of Django & Python.
Alright, Let's take off 🚀
First, we would create our project directory.
I will be naming mine, E-Store API.
Now, that is settled. Open your project directory on your code editor.
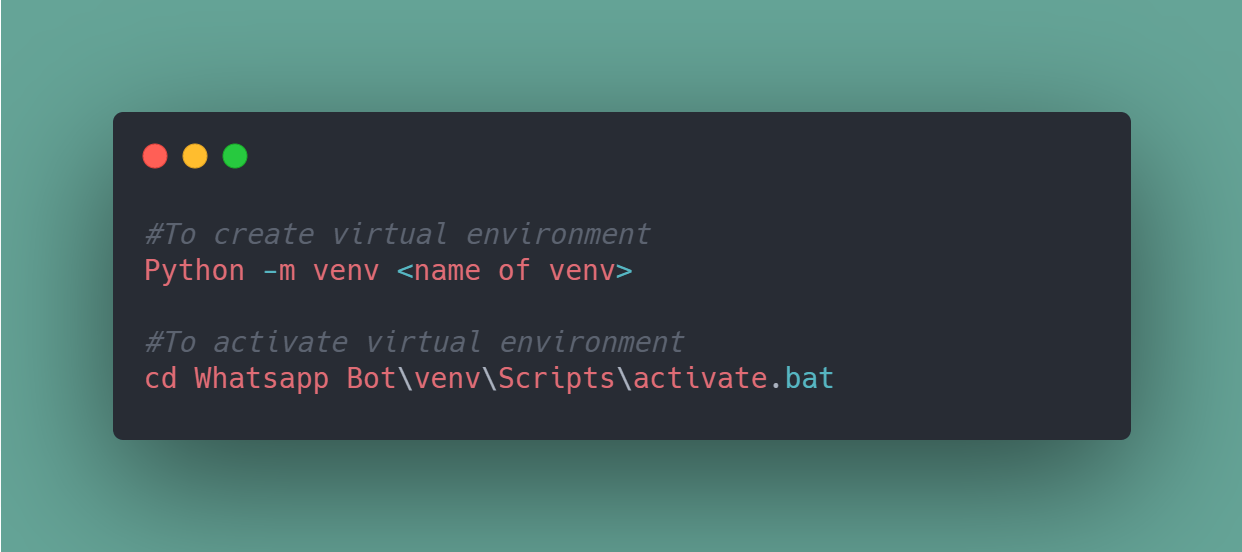
Create and activate your virtual environment.
This is to isolate our package dependencies locally
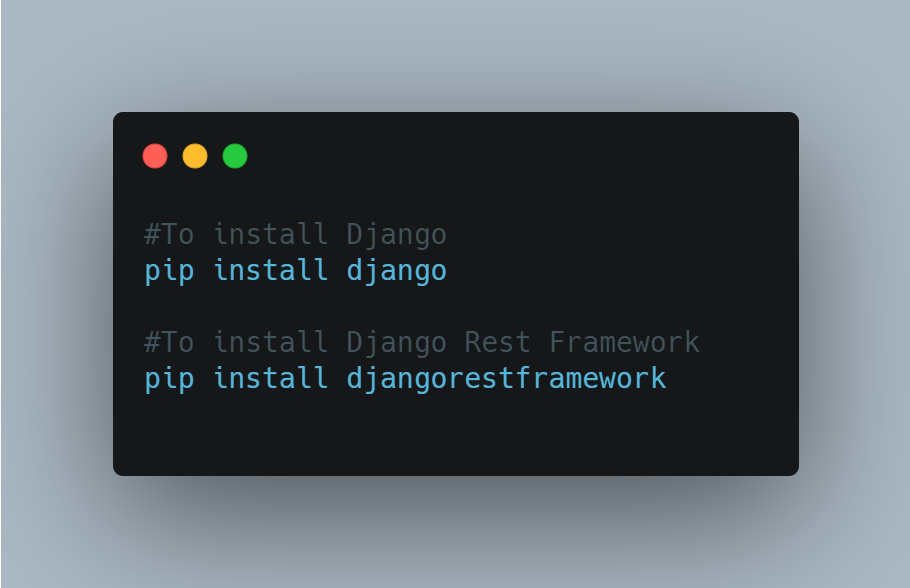
Install Django and Django REST framework into the virtual environment
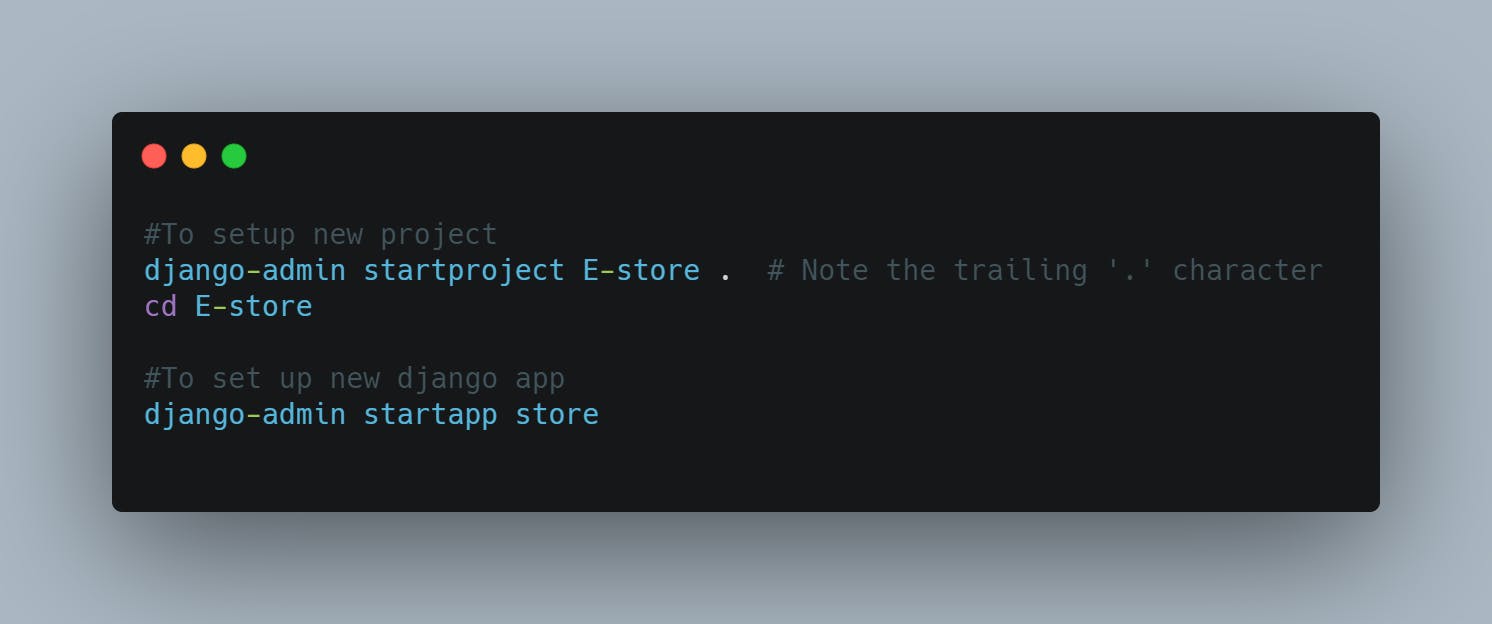
Set up a new project with a single application
Your project layout should look like this
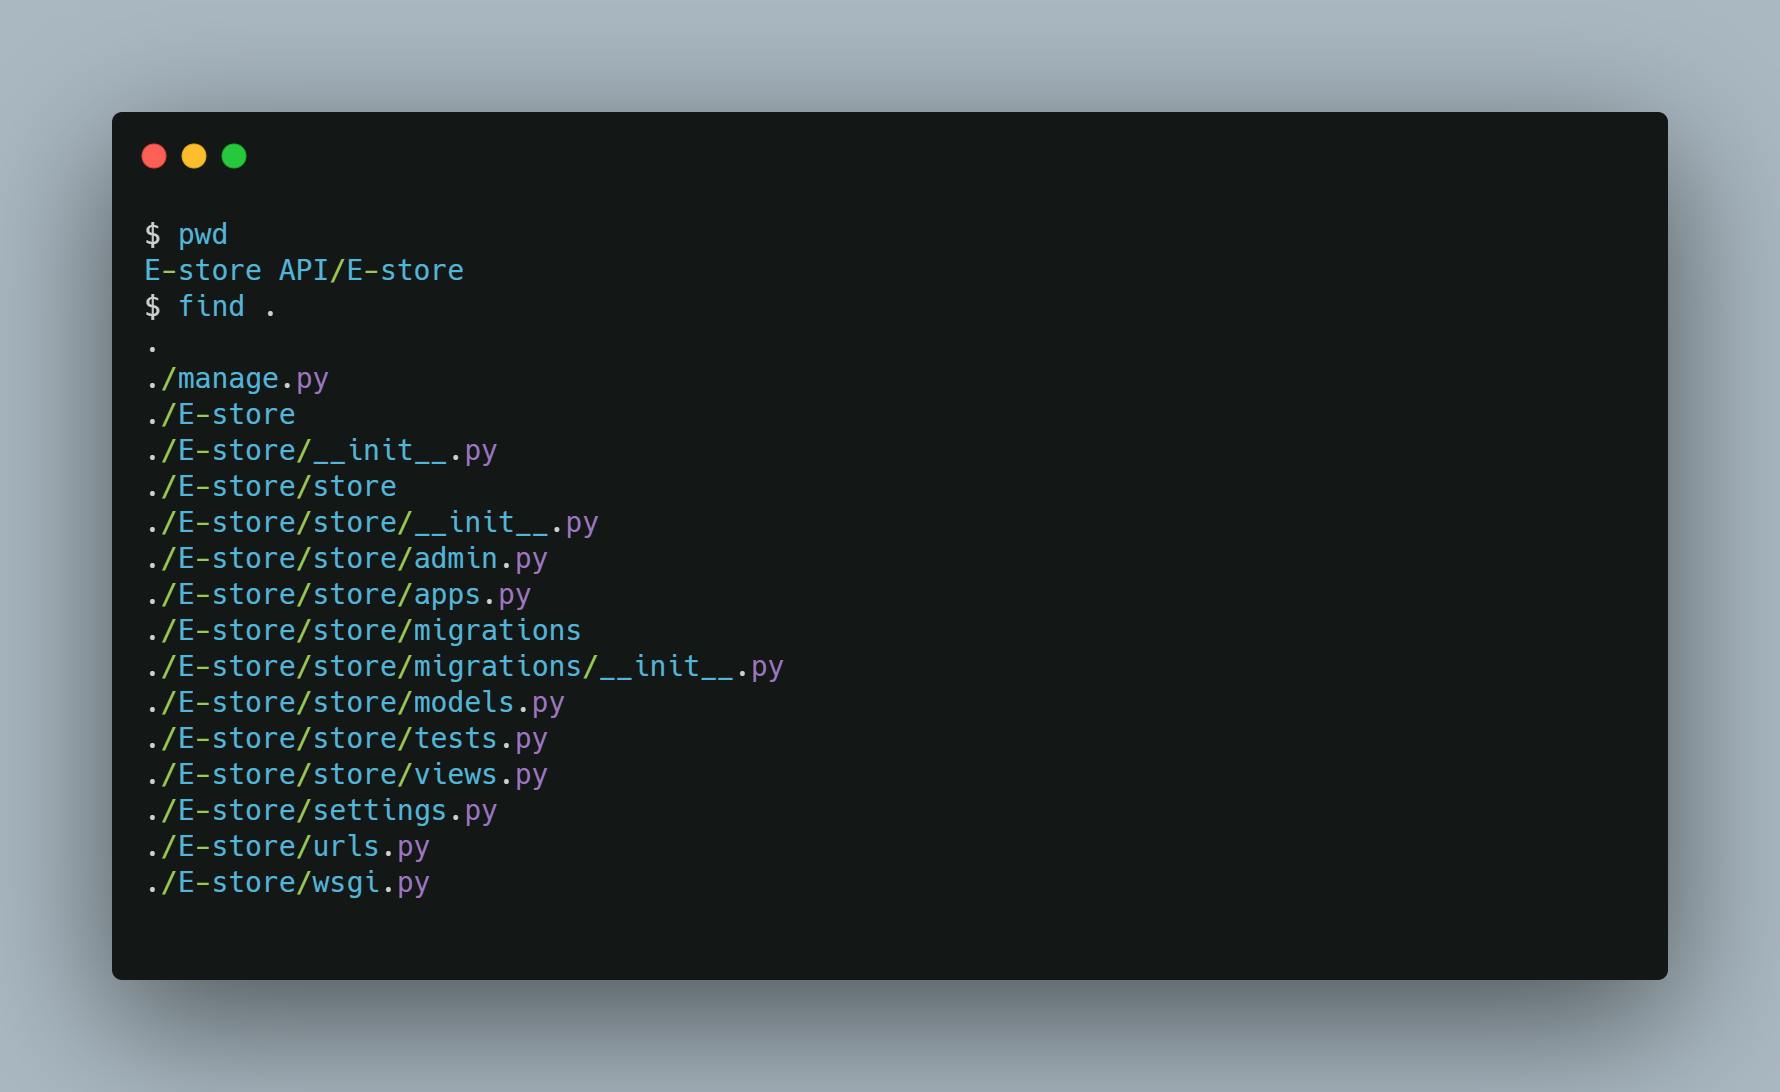
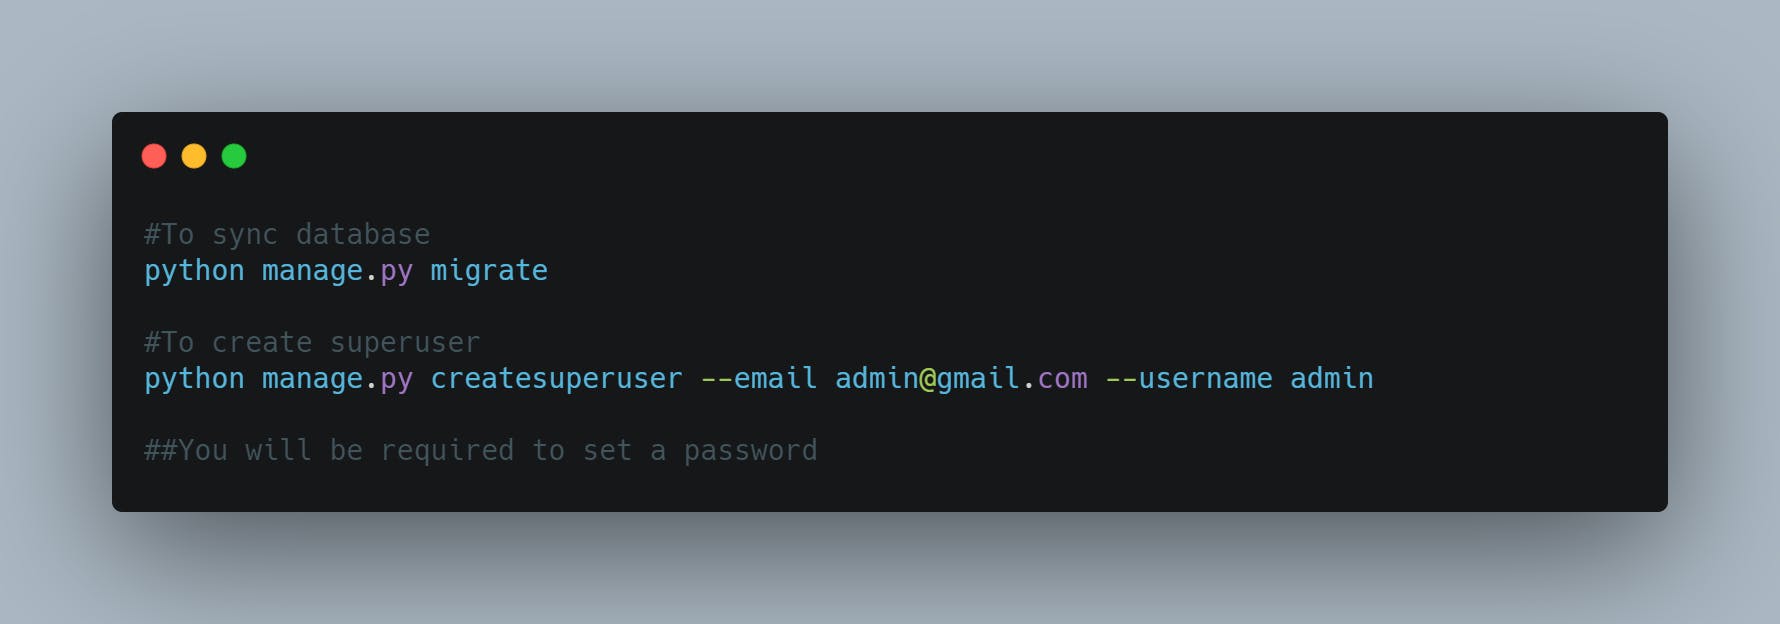
Sync your database for the first time and Create Superuser
Now that you confirm that your project layout is good. Sync your database.
We'll also create an initial user named admin with a password of password123. We'll use this information much later - don't be confused.
Once you've set up a database and the initial user is created and ready to go, open up the app's directory and let's start coding right away 🚀
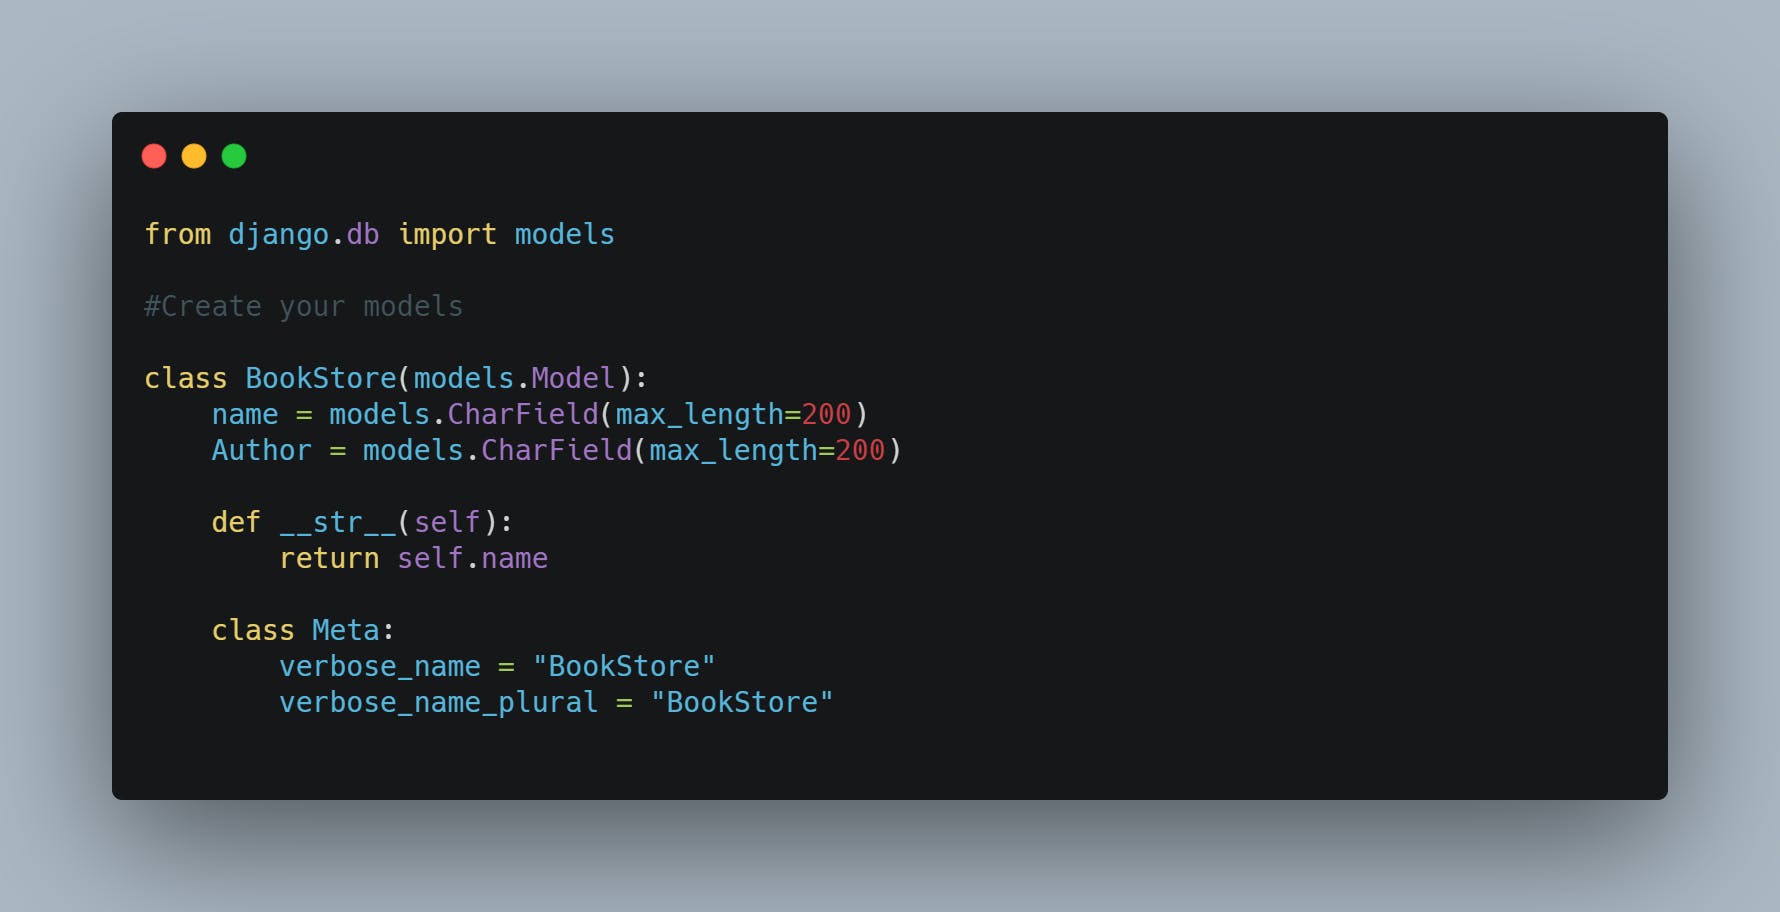
Models
We will need to create our models. You can view your models on django admin dashboard. The model will only show the name of the book and the author.
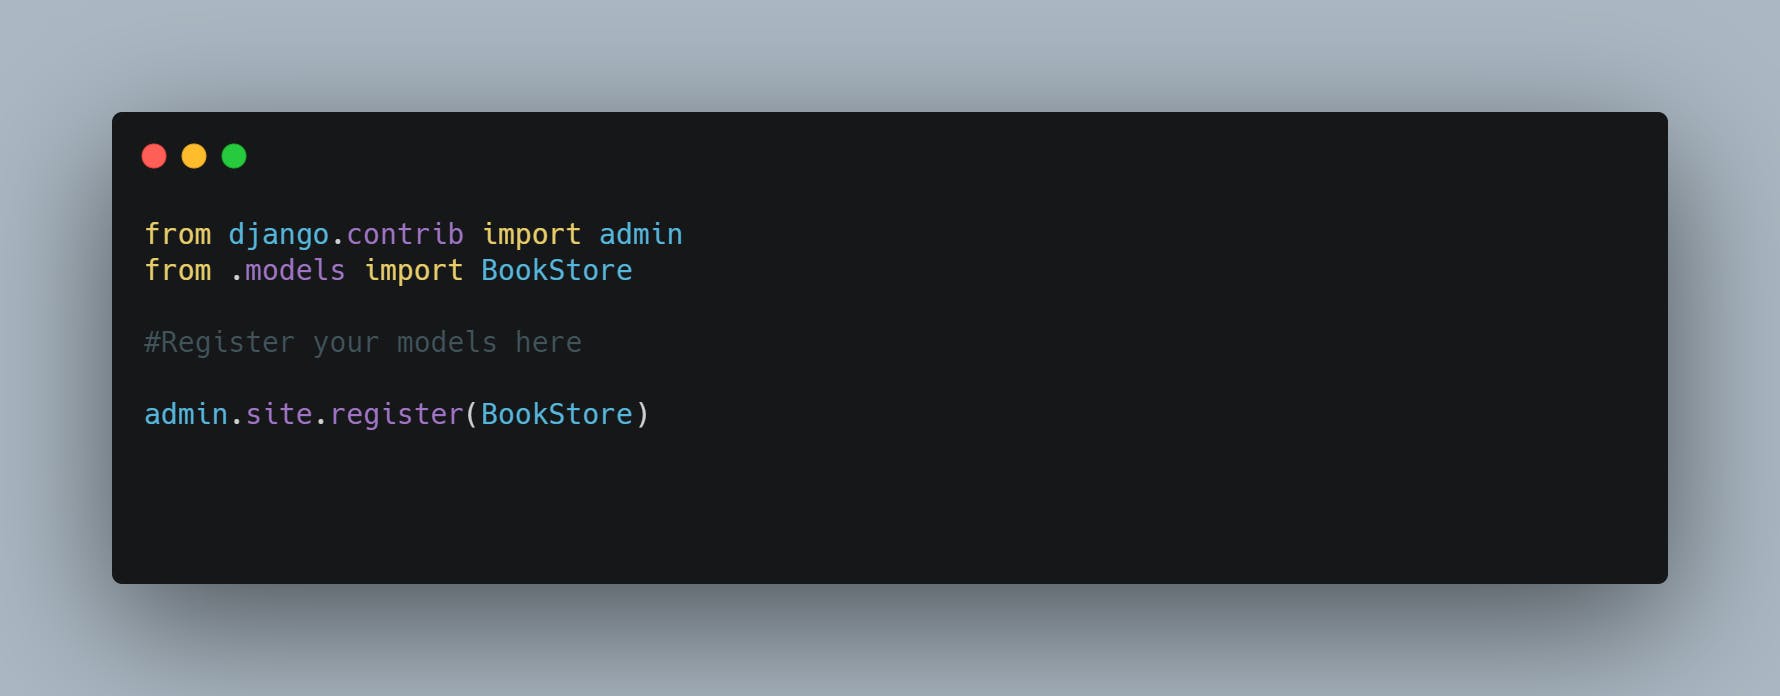
Admin
We will need to define our model on django admin, open e-store/store/admin.py that we'll use for our data representations.
Serializers
Next, we're going to define some serializers. Let's create a new module named E-store/store/serializers.py that we'll use for our data representations.
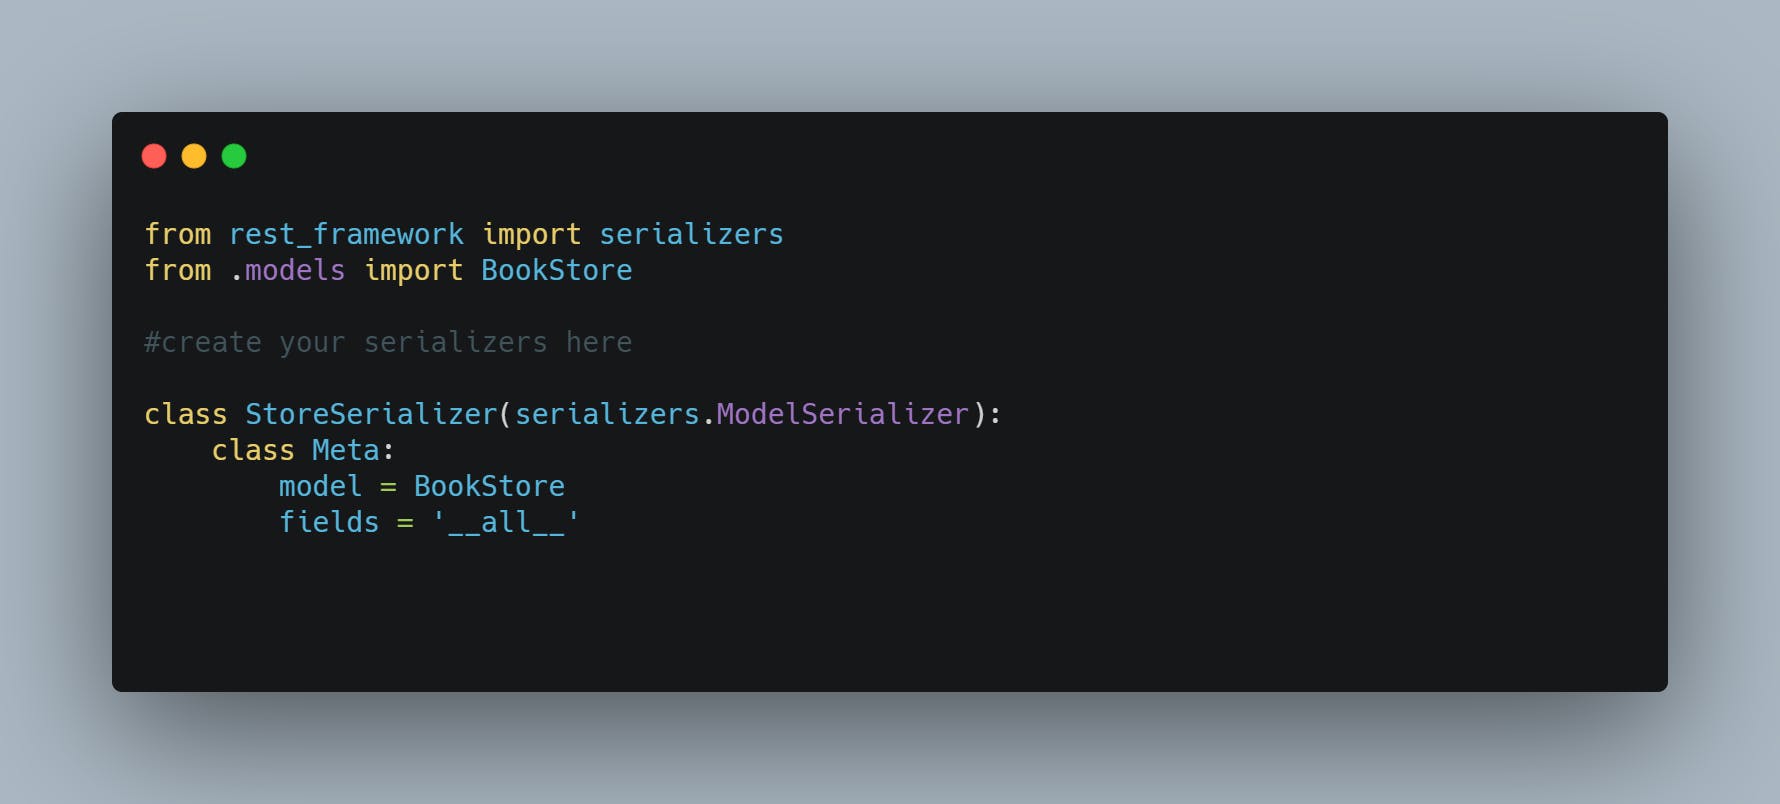
Notice that we're using hyperlinked relations in this case with HyperlinkedModelSerializer. You can also use primary key and various other relationships, but hyperlinking is good RESTful design.
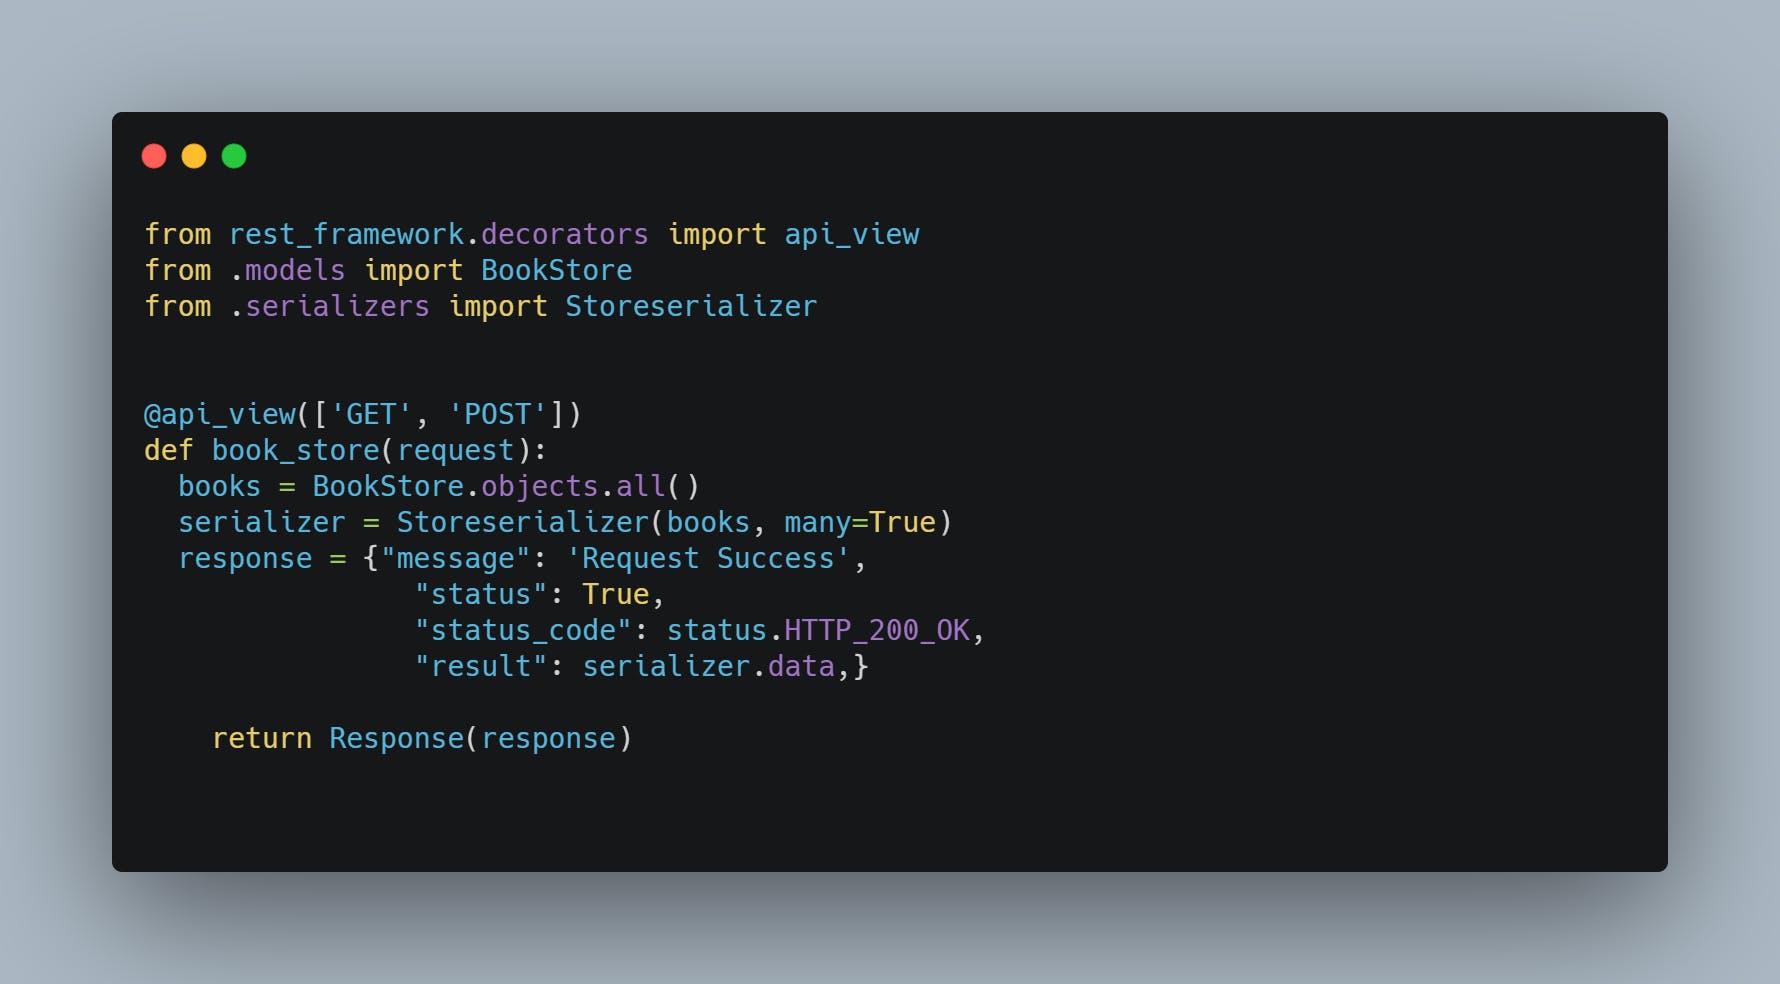
Views
There are two ways to create views in django rest api. I will be using APIView instead of ViewSet.
Difference between the two views I mentioned above:
APIView allow us to define functions that match standard HTTP methods like GET, POST, PUT, PATCH, etc. Viewsets allow us to define functions that match to common API object actions like : LIST, CREATE, RETRIEVE, UPDATE, etc.
We better start writing some views. Open E-store/store/views.py and get typing 👨💻
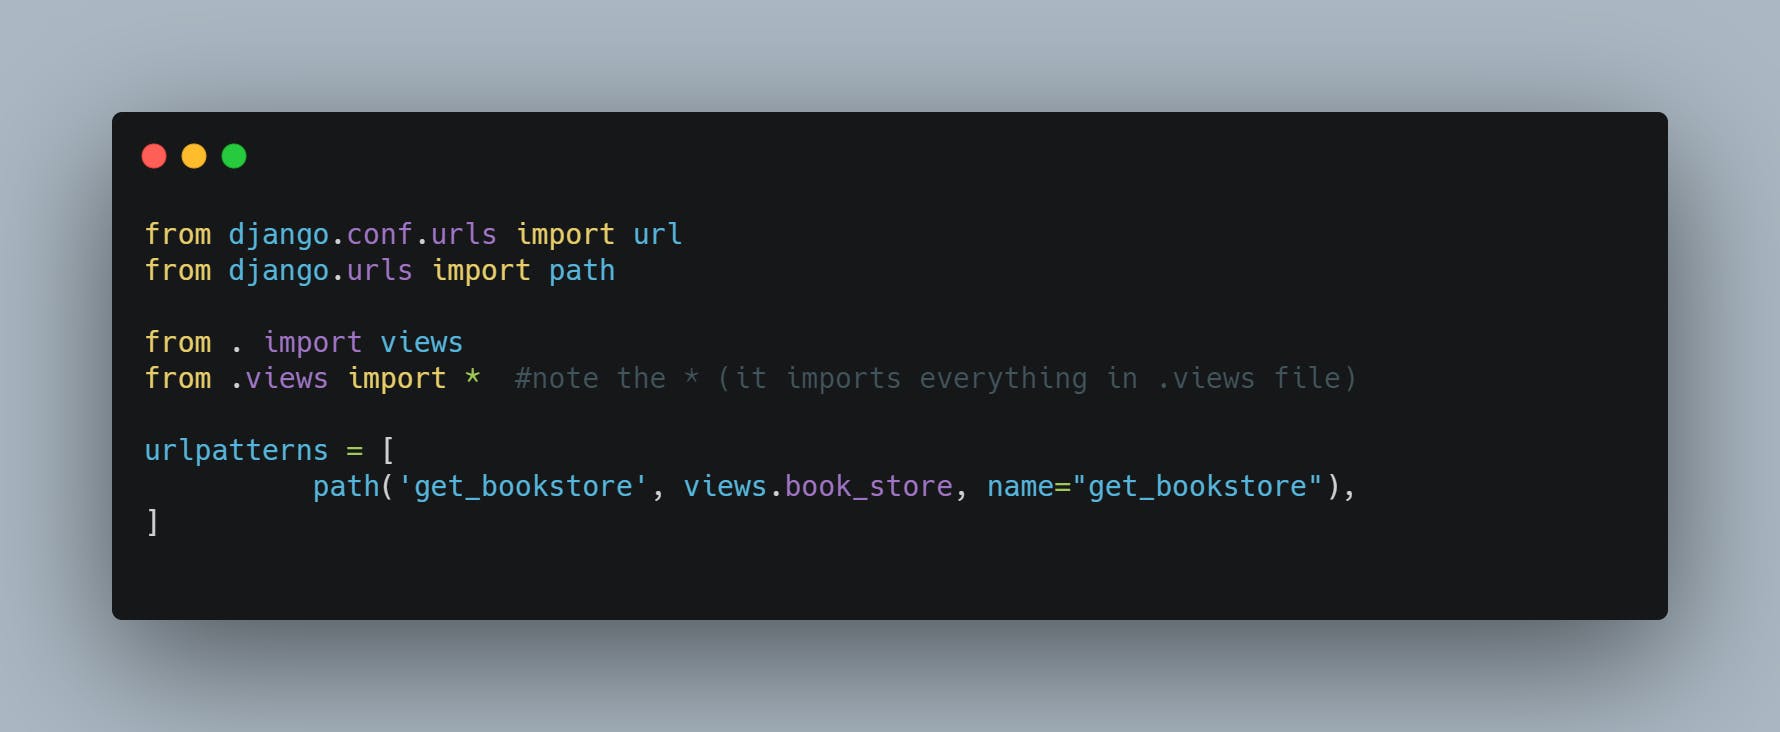
Urls
We would wire up the url first in the app's urls,py. Create a urls.py on the app's folder, like E-store/store/urls.py
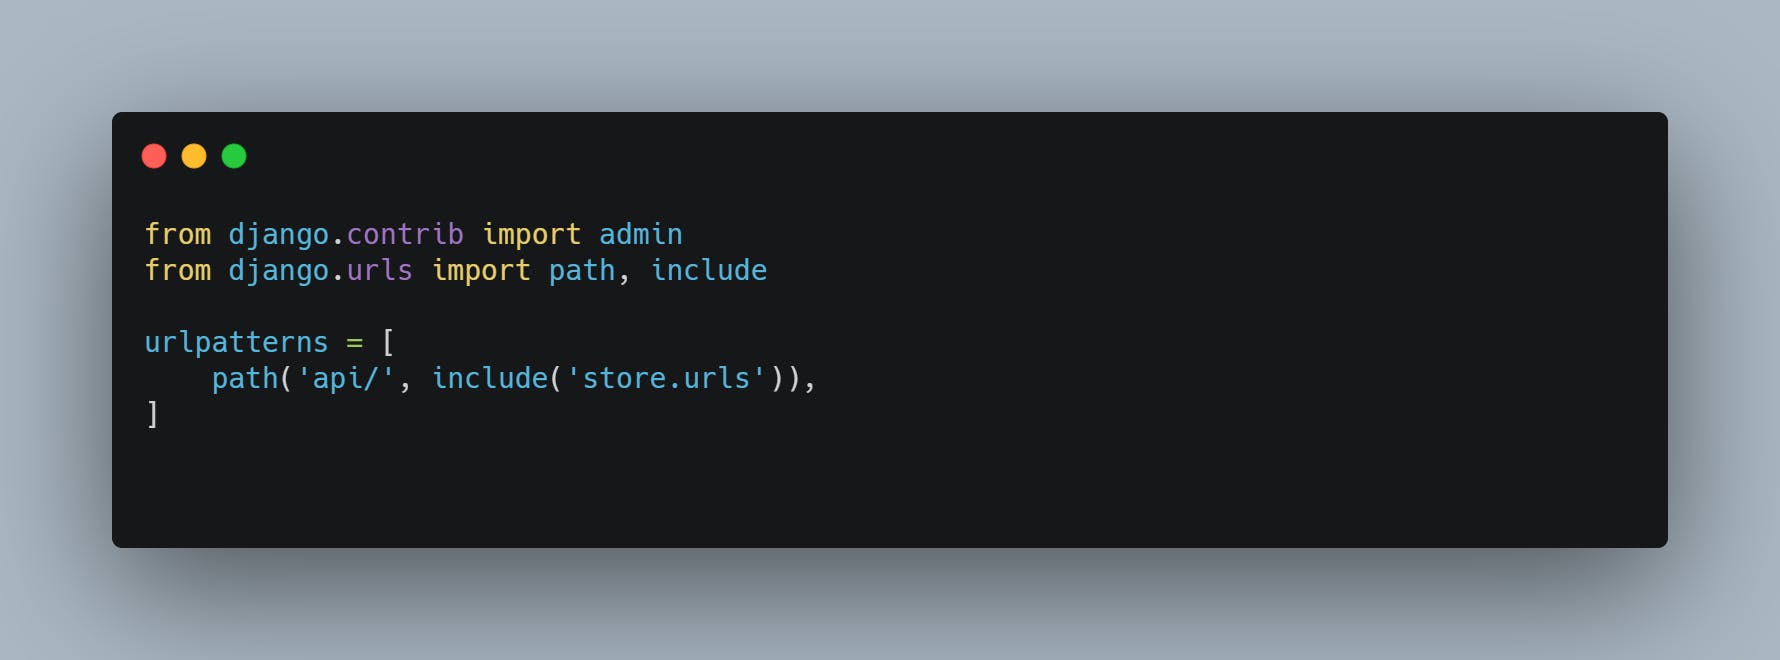
Now let's wire up the API URLs. On to E-store/urls.py.
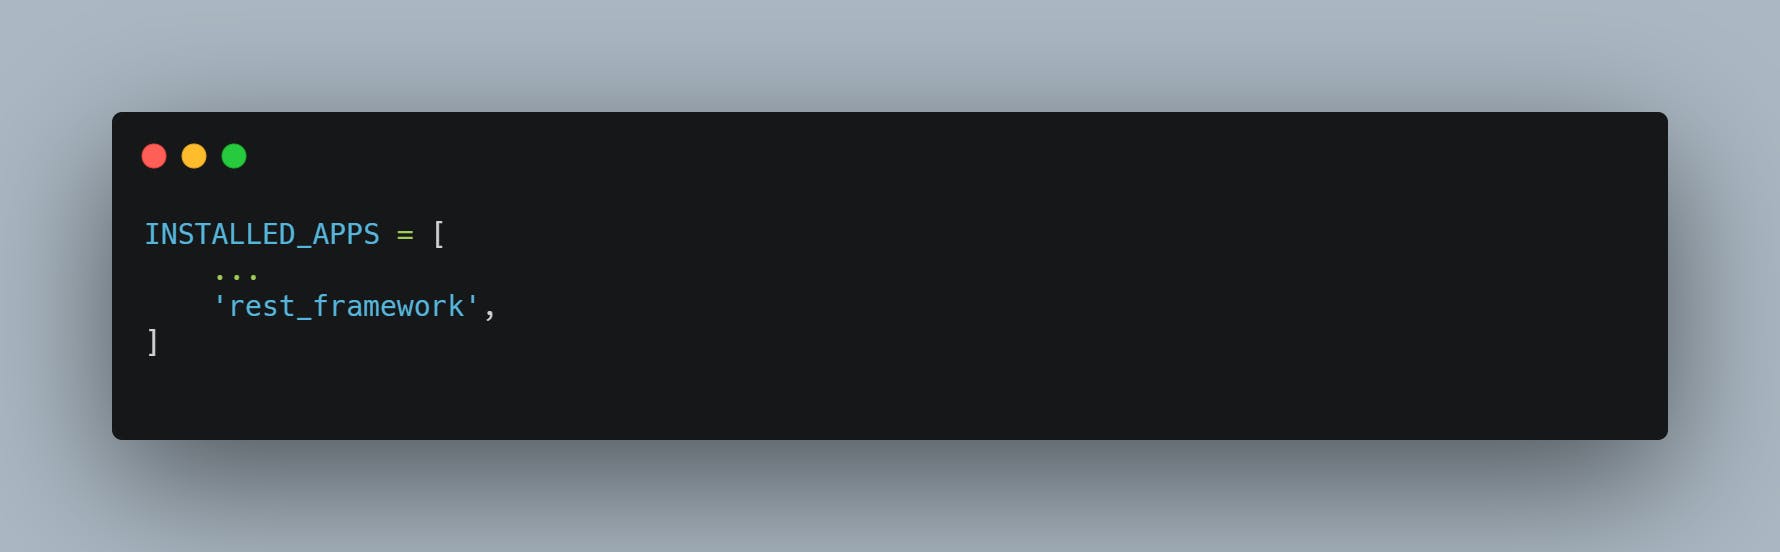
Settings
Add 'rest_framework' to INSTALLED_APPS. The settings module will be in E-store/settings.py
And, we are done 🎉
TESTING OUR API
We're now ready to test the API we've built. Let's fire up the server from the command line.
I forgot hashnode has code snippet markdown, lol. Let's try it 😁
python manage.py runserver
Log into django admin using the superuser we created, navigate to BookStore model and add a name and author. Once, you've saved it.
Enter your API urls
http://127.0.0.1:8000/api/get_bookstore
The name of book and the author you added via django model will be visible alongside the response.
Congratulations!!! You've created your first django HTTP api response. You could include this in your mobile app and other projects that require RESTful API.
A LITTLE SURVEY: Should I continue using carbon as a code snippet tool or use hashnode code snippet?
Let me know what you think in the comment section.
Thanks for staying till the end. Sign up for my newsletter to get article alert to your email.